
API Monetization with Stripe Metered Billing
Building a monetized API for a SaaS product might seem like a daunting task, but it’s actually relatively simple when you bring in tools like Stripe’s Metered Billing feature. There are 4 main steps in the process:
- Create an API
- Subscribe a customer to a recurring subscription in Stripe
- Create custom API keys to authenticate requests to the API
- Report API usage to Stripe
The following lesson demonstrates the backend flow for building API with Express.js and monetizing it with Stripe Metered Billing. This lesson is fairly advanced, check out the Stripe JavaScript Course for a complete breakdown of payment flows.
Initial Setup
Stripe Product Creation
Sign up for a Stripe account and create a new product. It is important that this product is recurring and metered.
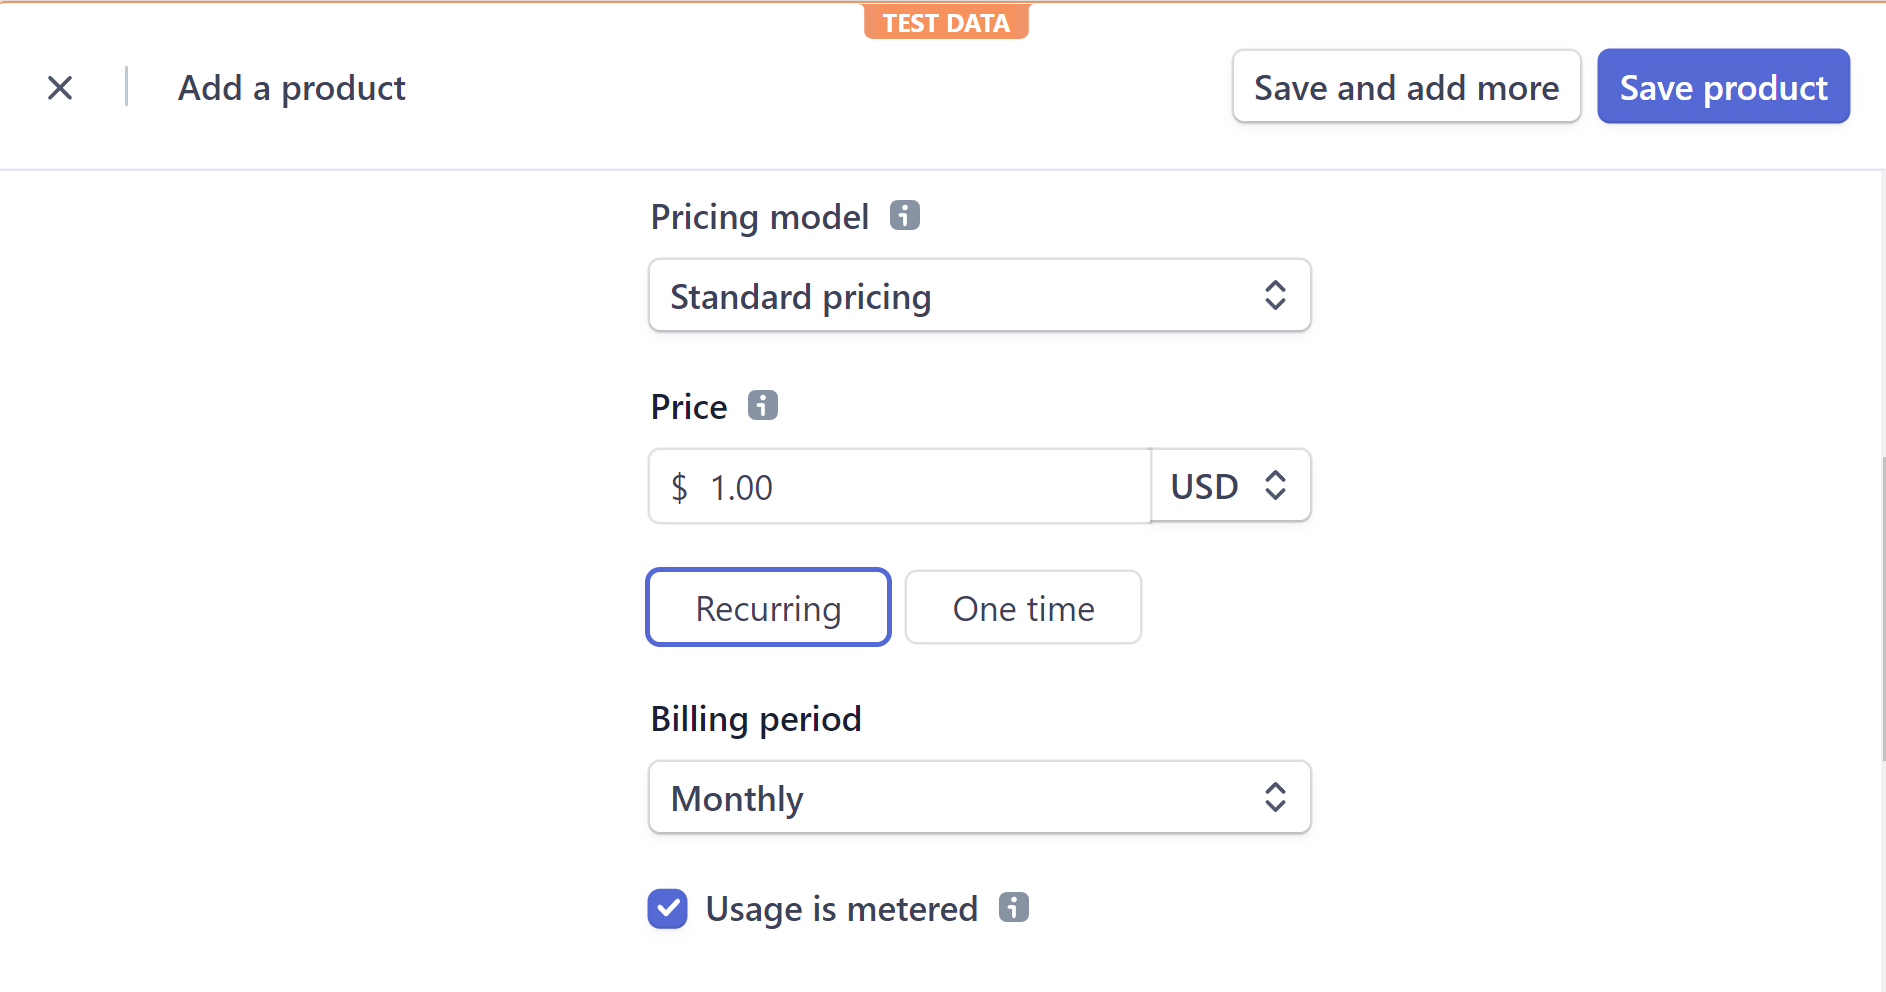
Create a metered product on Stripe
Node Setup
npm init -y
npm install express stripe
Create a file named index.js in the root directory of your project.
Add express and Stripe to the file. Initialize Stripe with the secret test key from the dashboard.
const express = require('express');
const app = express();

const stripe = require('stripe')('sk_test_YOUR_KEY');
Basic API
Authenticated API Endpoint
First, let’s build a basic API endpoint. Eventually, we will bill the user $1.00 for every request to this URL. Notice how it requires a valid API key to send a successful response.
// Make a call to the API
app.get('/api', async (req, res) => {

  const { apiKey } = req.query;

  if (!apiKey) {
    res.sendStatus(400); // bad request
  }

  // TODO validate apiKey

  res.send({ data: '🔥🔥🔥🔥🔥🔥🔥🔥' });

});
Mock Database
This tutorial does not use a database. Instead, it just mocks a database in memory. Replace this code with your favorite database, like Firestore, MongoDB, PostgreSQL, etc.
Your database will need two tables or collections:
customers- Data about each customer’s account and subscription.apiKeys- A mapping to match an API key to a user.
// Reverse mapping of stripe to API key. Model this in your preferred database.
const customers = {
  // stripeCustomerId : data
  stripeCustomerId: {
    apiKey: '123xyz',
    active: false,
    itemId: 'stripeSubscriptionItemId',
  },
};
const apiKeys = {
  // apiKey : customerdata
  '123xyz': 'stripeCustomerId',
};
Generate & Hash Custom API Keys
Node has a built crypto module for generating random values. It is important for API keys to be unique, so we make this a recursive function that verifies that the key is unique.
In addition, we don’t want to store the actual value in the database, but rather a hash of the value.
function generateAPIKey() {
  const { randomBytes } = require('crypto');
  const apiKey = randomBytes(16).toString('hex');
  const hashedAPIKey = hashAPIKey(apiKey);

  // Ensure API key is unique
  if (apiKeys[hashedAPIKey]) {
    generateAPIKey();
  } else {
    return { hashedAPIKey, apiKey };
  }
}

// Hash the API key
function hashAPIKey(apiKey) {
  const { createHash } = require('crypto');

  const hashedAPIKey = createHash('sha256').update(apiKey).digest('hex');

  return hashedAPIKey;
}
Checkout
Generate a Stripe Checkout Session
Stripe Checkout allows redirect a user to a hosted webpage where they can securely enter their payment information.
// POST http://localhost:8080/checkout
// Create a Stripe Checkout Session to create a customer and subscribe them to a plan
app.post('/checkout', async (req, res) => {
  const session = await stripe.checkout.sessions.create({
    mode: 'subscription',
    payment_method_types: ['card'],
    line_items: [
      {
        price: 'price_YOUR_PRICE_ID',
      },
    ],
    success_url:
      'http://localhost:5000/dashboard?session_id={CHECKOUT_SESSION_ID}',
    cancel_url: 'http://localhost:5000/error',
  });

  res.send(session);
});
When you call this endpoint it returns a URL with a credit card form:
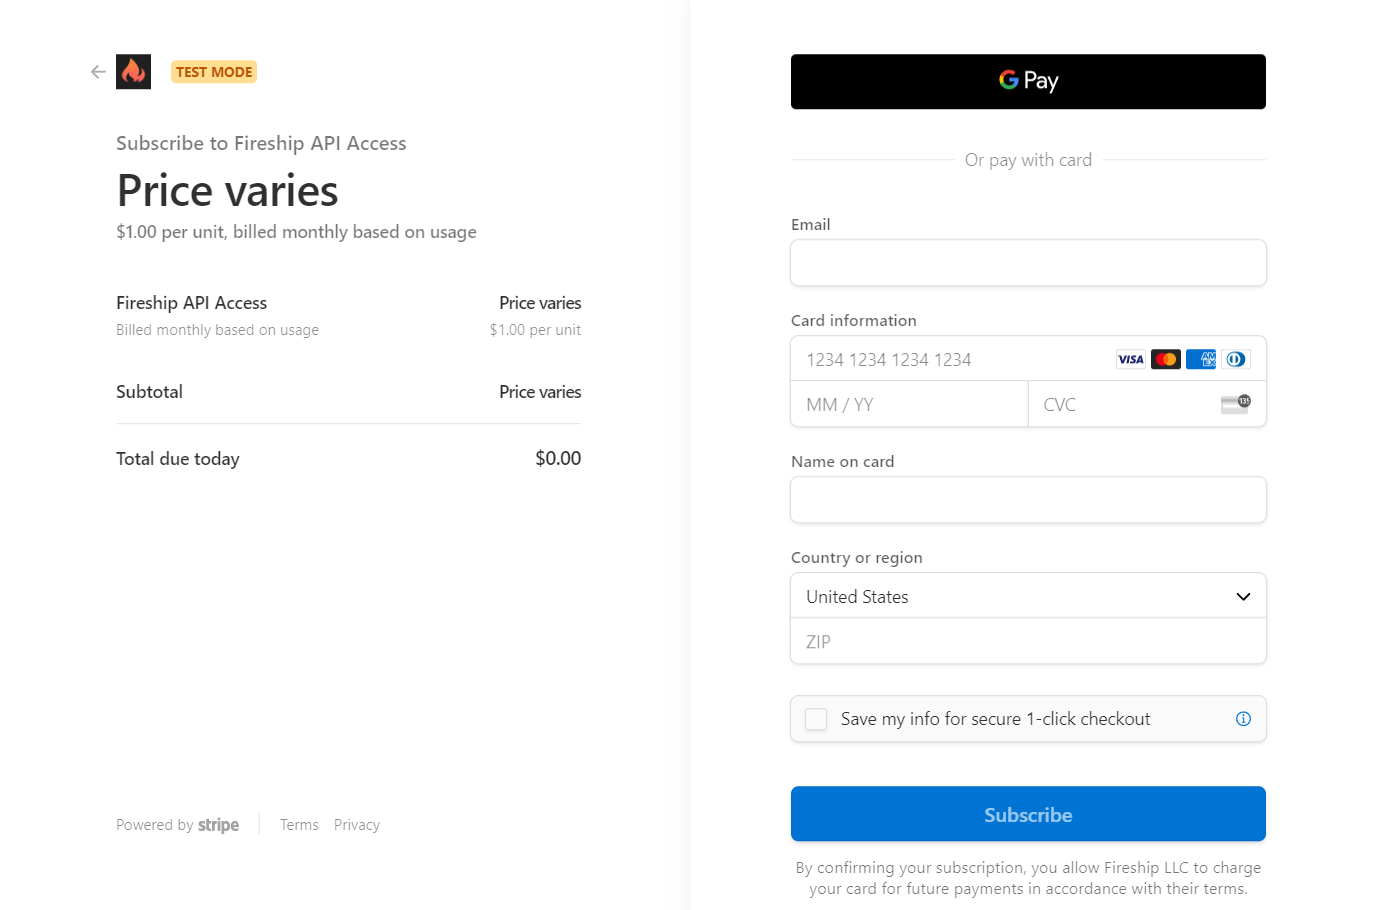
Example of Stripe Checkout form
Webhooks
When the user subscribes to a plan, Stripe’s servers will create a customer and subscription on its servers, then send the data back to your server via a webhook.
Listen to Webhooks Locally
In development, you can listen to webhooks locally using the Stripe CLI.
Install the CLI and run the following command:
stripe listen --forward-to localhost:8080/webhook
Make a note of the webhook signing secret that is returned.
Verify Webhooks
To handle webhooks safely, we need to verify the webhook signature to guarantee that it actually came from Stripe.
The webhook requires the request body as a raw buffer, which we can format with some express middleware.
app.use(
  express.json({
    verify: (req, res, buffer) => (req['rawBody'] = buffer),
  })
);
Now we can validate the signature and access the data from Stripe.
app.post('/webhook', async (req, res) => {
  let data;
  let eventType;
  // Check if webhook signing is configured.
  const webhookSecret = 'whsec_YOUR_SIGNING_SECRET';

  if (webhookSecret) {
    // Retrieve the event by verifying the signature using the raw body and secret.
    let event;
    let signature = req.headers['stripe-signature'];

    try {
      event = stripe.webhooks.constructEvent(
        req['rawBody'],
        signature,
        webhookSecret
      );
    } catch (err) {
      console.log(`⚠️  Webhook signature verification failed.`);
      return res.sendStatus(400);
    }
    // Extract the object from the event.
    data = event.data;
    eventType = event.type;
  } else {
    // Webhook signing is recommended, but if the secret is not configured in `config.js`,
    // retrieve the event data directly from the request body.
    data = req.body.data;
    eventType = req.body.type;
  }

  switch (eventType) {
    case 'checkout.session.completed':
      break;
    case 'invoice.paid':
      break;
    case 'invoice.payment_failed':
      break;
    default:
    // Unhandled event type
  }

  res.sendStatus(200);
});
Subscription Event
The event we’re interested in is checkout.session.completed, which is sent “when a customer clicks the Pay or Subscribe button in Checkout, informing you of a new purchase.”.
At this point, the user has completed the checkout process, so we can generate a new API key and store it in our database.
  switch (eventType) {
    case 'checkout.session.completed':
      console.log(data);
      // Data included in the event object:
      const customerId = data.object.customer;
      const subscriptionId = data.object.subscription;

      console.log(
        `💰 Customer ${customerId} subscribed to plan ${subscriptionId}`
      );

      // Get the subscription. The first item is the plan the user subscribed to.
      const subscription = await stripe.subscriptions.retrieve(subscriptionId);
      const itemId = subscription.items.data[0].id;

      // Generate API key
      const { apiKey, hashedAPIKey } = generateAPIKey();
      console.log(`User's API Key: ${apiKey}`);
      console.log(`Hashed API Key: ${hashedAPIKey}`);

      // Store the API key in your database.
      customers[customerId] = { apikey: hashedAPIKey, itemId, active: true};
      apiKeys[hashedAPIKey] = customerId;

      break;
Billing for API Calls
Record Usage
At this point the user’s bill is $0.00, but it should increase by $1.00 for each API call. Let’s update the original endpoint to record the API call.
// GET http://localhost:8080/api?apiKey=API_KEY
// Make a call to the API
app.get('/api', async (req, res) => {
  const { apiKey } = req.query;

  if (!apiKey) {
    res.sendStatus(400); // bad request
  }

  const hashedAPIKey = hashAPIKey(apiKey);

  const customerId = apiKeys[hashedAPIKey];
  const customer = customers[customerId];

  if (!customer || !customer.active) {
    res.sendStatus(403); // not authorized
  } else {

    // Record usage with Stripe Billing
    const record = await stripe.subscriptionItems.createUsageRecord(
      customer.itemId,
      {
        quantity: 1,
        timestamp: 'now',
        action: 'increment',
      }
    );
    res.send({ data: '🔥🔥🔥🔥🔥🔥🔥🔥', usage: record });
  }
});
Check Current Usage
Your customer will likely want to check their current usage. Create an endpoint that retrieves their current invoice.
// GET http://localhost:8080/usage/cus_ID
app.get('/usage/:customer', async (req, res) => {
  const customerId = req.params.customer;
  const invoice = await stripe.invoices.retrieveUpcoming({
    customer: customerId,
  });

  res.send(invoice);
});